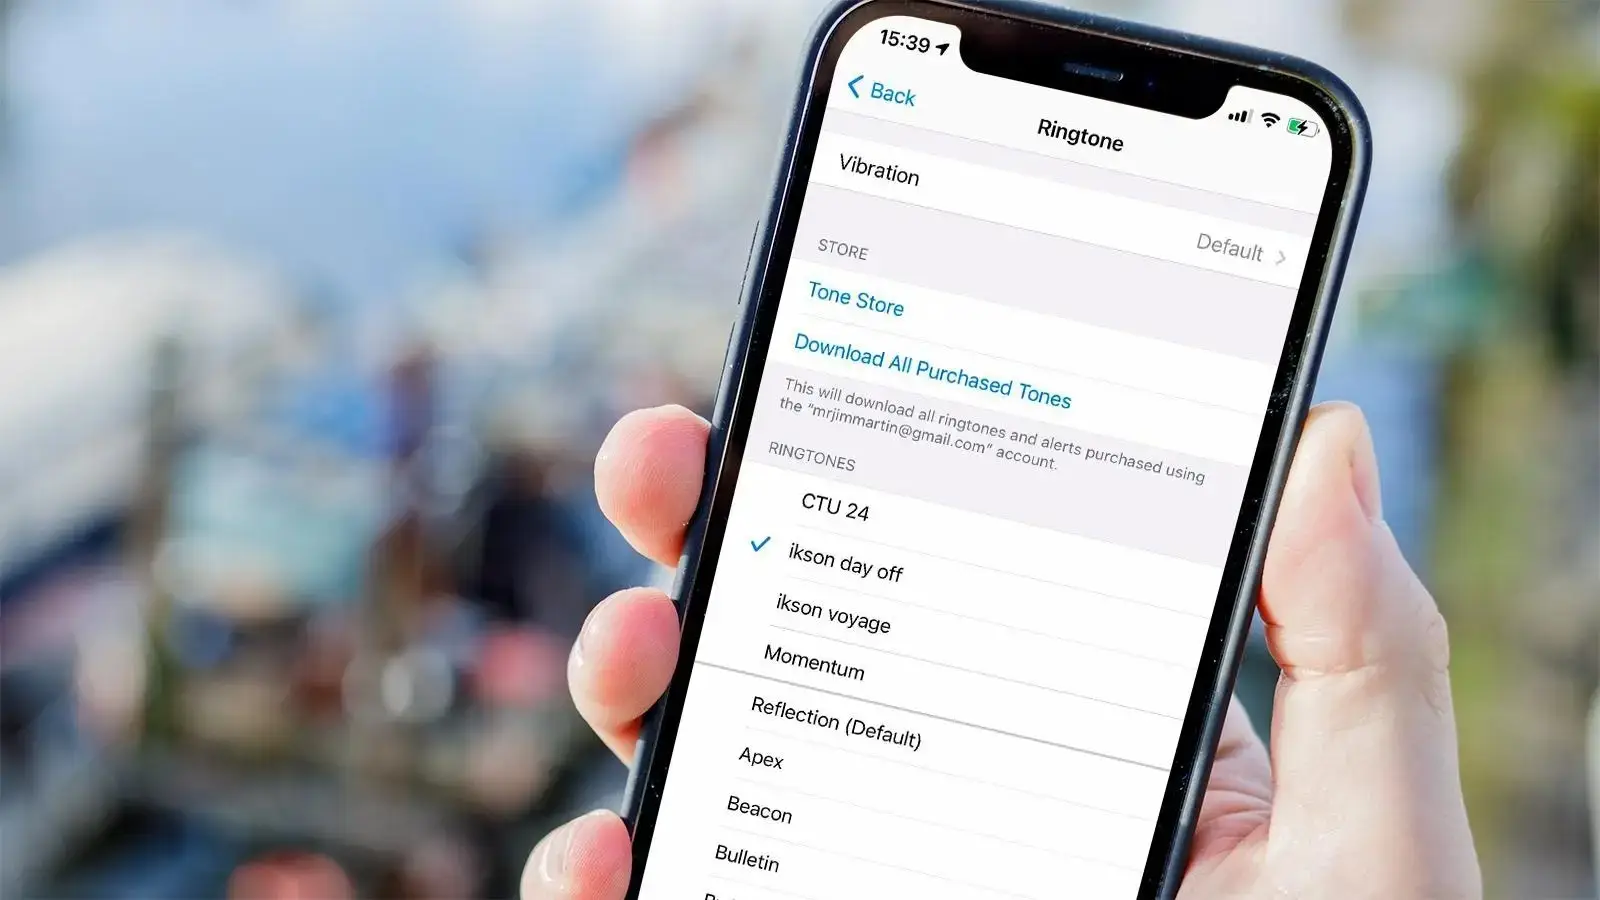
Since its debut in 2007, the iPhone has gone a long way. Unfortunately, the method to establish a song as your own personalized ringtone or alert has not.
This might explain why you keep hearing the same old iPhone tones, as there are several processes involved in creating a personalized ringtone for your iPhone. Apple continues to sell ringtones through the iTunes store, so we thought we’d remind you that we will show you how to make custom ringtones and add to your iPhone for free.
You may also change the tones and notifications for a more personalized device.
How To Make Custom Ringtones Step By Step
1. Prepare Your Song or Alert
It should go without saying that you’ll need to select a song or sound to use as a ringtone or alert, whether it’s the M.A.S.H. theme or Metal Gear Solid’s second-long “You’ve been seen!” noise. This is your source material, which might be a downloaded MP3 or a song from your Apple Music or iTunes collection.
You may use any song or sound as long as it is DRM-free. That is, if you regularly listen to music on Apple Music or Spotify, you will need to download or import a file from somewhere else to use as your ringtone. For the same reason, you also can’t utilize tracks you bought from the iTunes Store.
To alter your iPhone’s ringtone without needing a computer, use GarageBand to create a ringtone.
After obtaining the original file, you must shorten the music to roughly 30-seconds in length for ringtones. This is something you can do with Apple Music, iTunes, or any other audio editor. You can use any of the ways listed below.
Using Apple Music or iTunes
Again, this will only work with songs that you have directly imported (from your own files).
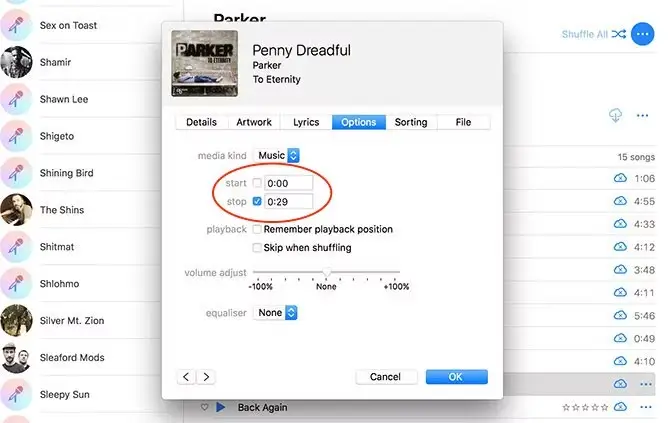
Find the music you want to utilize in your collection (import it if you haven’t previously), Control-click or right-click on it, and then select Get Info. Navigate to the Options tab where you’ll notice Start and Stop cues. You may use them to make a shortened version of your music by specifying when playing should begin and end.
Ringtones can’t be longer than 30 seconds, therefore limit it to that length or less, regardless of the start time. When you’ve decided on a range, click OK.
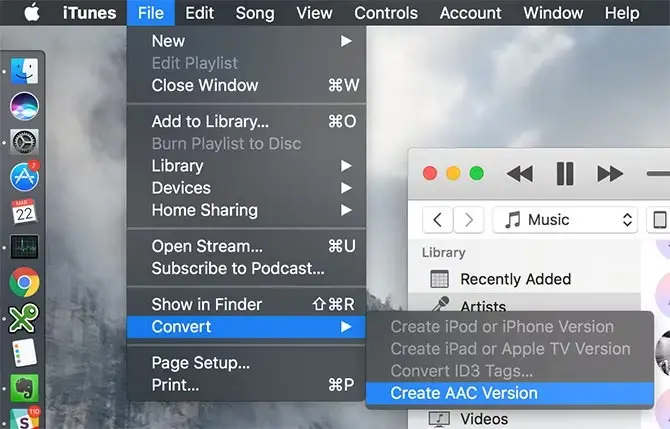
With the music you just altered chosen, go to File > Convert and select Create AAC Version. A replica song that is shorter than the original should emerge. Drag it to your desktop for safekeeping, then remove it from your Apple Music or iTunes collection. You should also return to the original tune and delete the Start and Stop cues.
If you don’t see a Create AAC Version option, open Apple Music or iTunes Preferences and navigate to Files > Import Settings, then choose AAC Encoder as the Import Using option.
Using QuickTime Player
QuickTime Player for Mac is a sophisticated application with a number of useful hidden features. Simply open any downloaded audio file in QuickTime, go to Edit > Trim, and move the sliders until you’re satisfied with your pick. Again, the audio should be limited to 30 seconds or fewer. When you’re finished, go to File > Export > Audio Only and save the file to your desktop.

The file will be in AAC format, which is exactly what you want.
Using Another Audio Editor
Other audio editors will give you far greater control over your audio file. You may modify audio on a timeline, add effects, increase volume levels, or create something altogether new. Check out our list of the best Mac audio editors to discover something within your price range.
The trick is to export to AAC format. If your selected audio editor is unable to perform this, you will have to resort to Apple Music or iTunes:
- Save your audio as.WAV (uncompressed).
- Use File > Add to Library to import your file into Apple Music or iTunes.
- Find the file you just imported, select it, then navigate to File > Convert > Create AAC Version.
- Drag the new AAC file to your desktop, then remove the original and duplicate AAC files from your iTunes library.
2. Change File Extension and Import It
Now that you’ve edited your music and saved it in AAC format, it’s time to deceive your computer into thinking it’s a ringtone. Select the file on your desktop, then rename it and change the extension from M4A to M4R. Control-click or right-click the file and select Rename.

On a Macbook you may simply need to add the file extension, and you’ll be prompted when you’ve done it right. If the original file extension is not visible, launch Finder and go to Finder > Preferences > Advanced > Show all filename extensions.
If you’re using Windows and can’t see the file extension, you’ll need to make some changes. To accomplish this, launch File Explorer and choose to View > Show, then File Name Extensions. On previous versions of Windows, go to Start > Control Panel > Appearance and Personalization > File Explorer Options > View, uncheck Hide extensions for recognized file types, and then press Apply.
You should now be able to see file extensions and, more crucially, modify your file from M4A or AAC to M4R. All that’s needed is to sync your M4R file to your iPhone.
3. Sync Your iPhone
Connect your iPhone to your computer via a USB connection. Accept the Trust the computer or iPhone window if asked. Then, if you’re on macOS Catalina or later, launch Finder or iTunes (if using Windows or an older version of macOS).
After choosing your iPhone from the sidebar in Finder or the top-left corner in iTunes, navigate to the General or Summary menu. Enable the option Manually control music, movies, and TV shows.
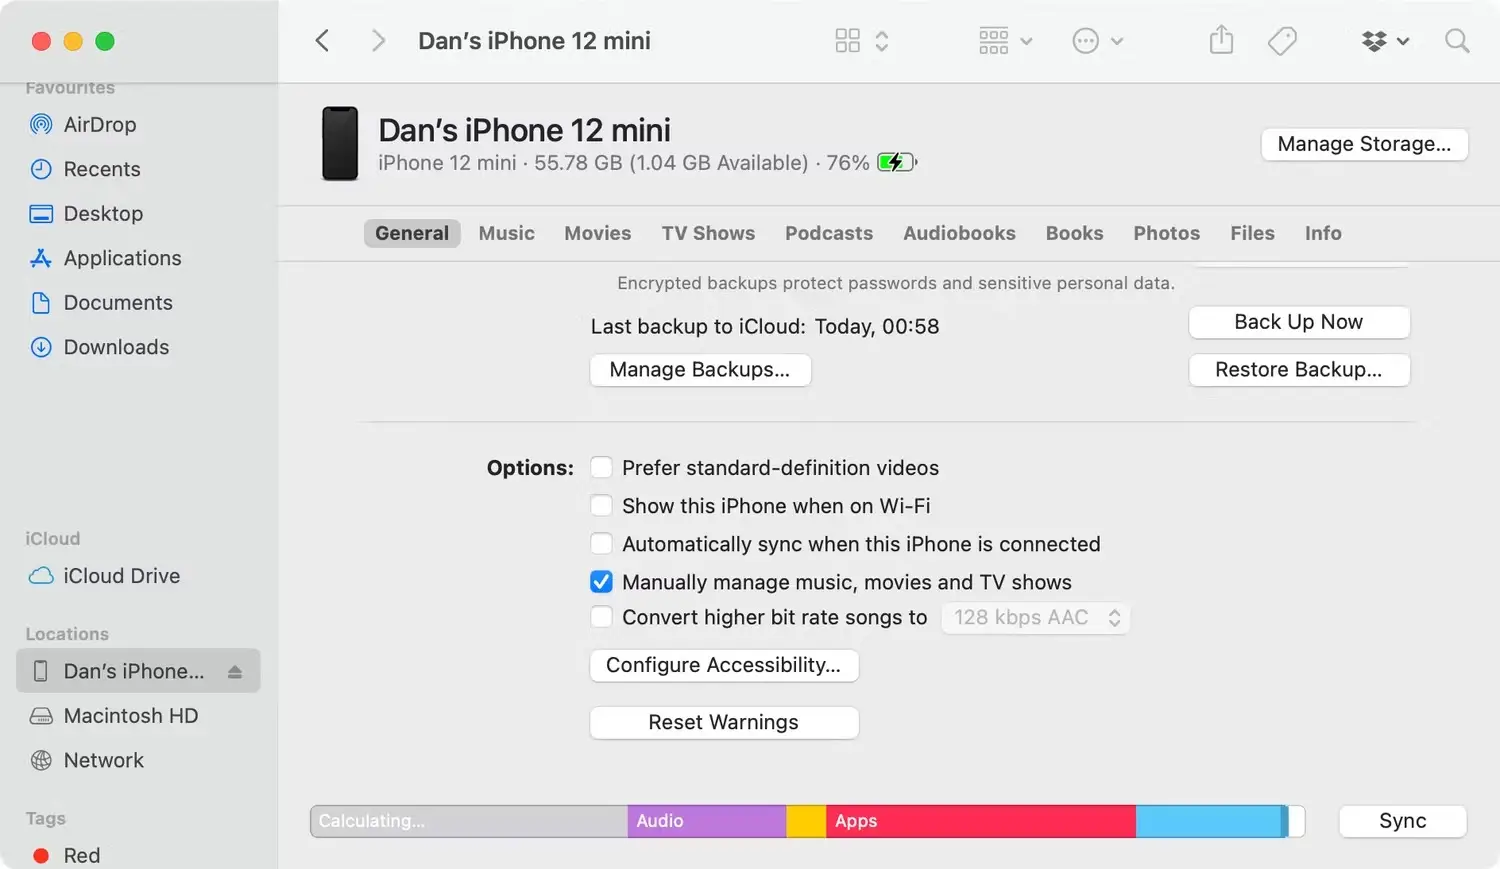
Finally, drag your M4R ringtone file into the General or Summary page and select Sync to sync it with your iPhone.
Open your iPhone, launch Settings > Sounds & Haptics (or Sounds & Vibration on previous devices), then select your tone from the Ringtones section. These ringtones can also be used as various alert tones, such as text tones, fresh mail alerts, reminders, and so on.
Other Sounds You Can Customize
You may use your new ringtone as a system-wide alert for all contacts, or you can assign different tones to certain contacts. To do so, navigate to Phone > Contacts and choose the contact to which you wish to add a ringtone. Hit Edit and scroll down till you see Ringtone. You may also change the Text Tone here.
Apple’s built-in Clock app may also be configured to emit various warnings. The Timer function is rudimentary but may utilize standard sounds and any ringtones you have purchased on manually synchronized via Apple Music or iTunes. Each alarm set can have a different tone, including default tones, synchronized tones, and whatever music you’ve synced to your smartphone.
And, sure, DRM-protected Apple Music tracks are included. When choosing an alarm tone, just scroll to the top of the selection and press Pick a song.
You Can Still Buy Tones
Purchasing ringtones through the iTunes Store is a much simpler way to get them onto your smartphone. This appears to be the primary reason Apple hasn’t made it easier to add your own tones, with fewer hurdles to pass through. It also indicates that individuals are still paying a few bucks for ringtones.
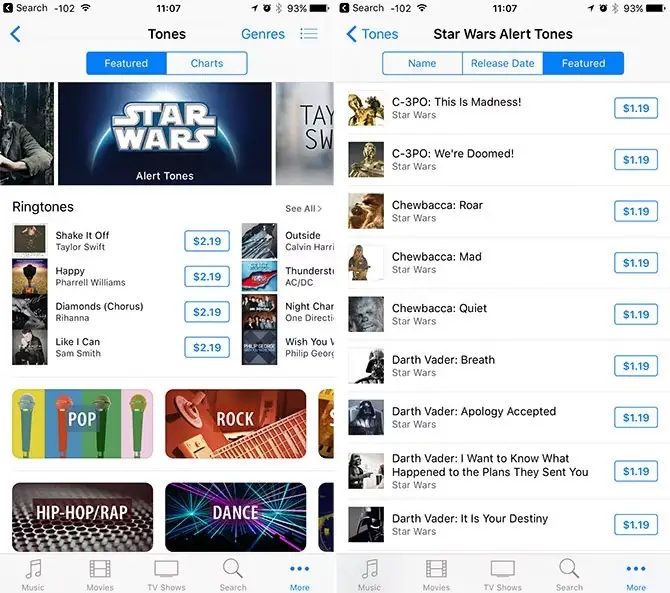
It is entirely up to you if you want to put in the work of converting, importing, and syncing. You may pay $0.99 for two seconds of Chewbacca howling, or you can get the sound on the internet and make it yourself for free. Check out our selection of video game ringtones for additional possibilities.
More Free Ringtone Ideas Can Be Found Online
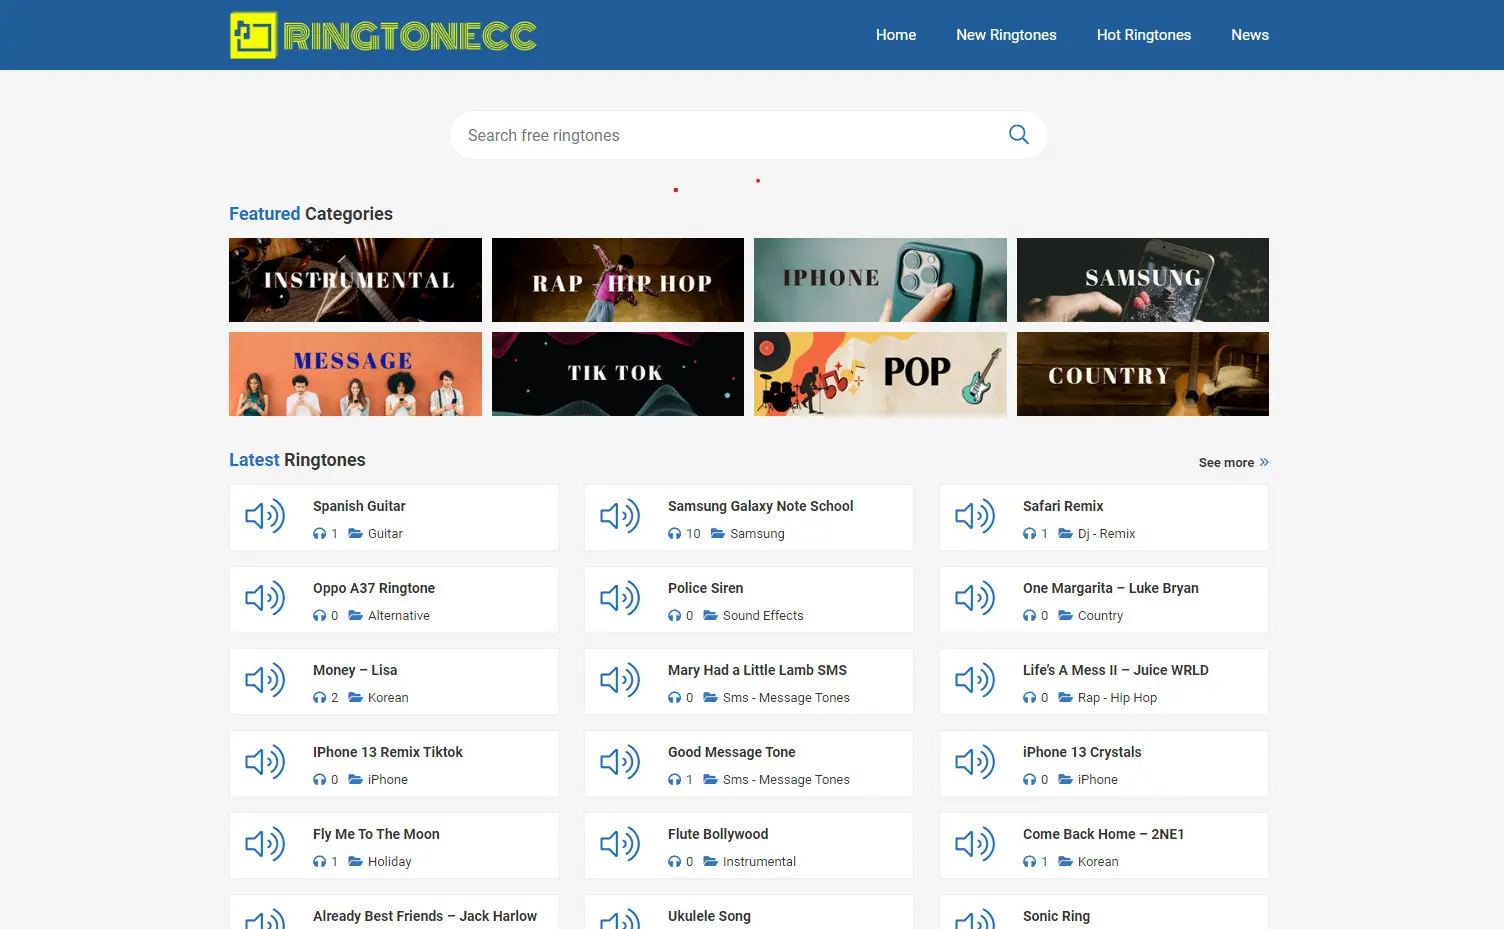
Learning how to make custom ringtones on your iPhone is just half the fight; picking a tune to install is the other half. Fortunately, there are many places where you may find ideas for free sounds to use as iPhone ringtones. For examples, you may check RingtoneCC and search for your lovely soundtracks
